You can't believe everything that Hollywood and co. present to us. Various tricks are used in movies. One of the most common is the so-called green or blue screen technique.
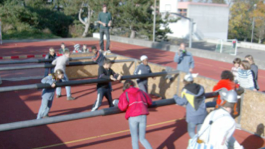
As part of a Bibellesebund camp on the topic of "Steven's feature film - the secret of the red thread" in Valbella, I was allowed to set up a small green screen studio myself. It was a great experience for the children to see for themselves on a small scale how such a film can be made and what is possible with such techniques.
What is the green screen technique?
I'm sure many people have heard of this technique, especially those who are familiar with film. For the others, here is a brief description:
In technical jargon, this technique is called "chroma-keying". The background is either a green or blue wall. This green or blue background can be replaced by any background in the post-production phase. This allows you to place yourself or others in any scene.
Why green and blue?
But why is green or blue used for this? The reason is actually quite simple: there are no green or blue tones in any skin type. Depending on the skin type, it tends more towards brown, black, yellow or red. Green and blue are therefore ideal.
A short introductory video
I was the goofy editor at the camp and responsible for all the video technology. In this short video I wanted to illustrate what is possible with green screen or blue screen technology.
What do you need for a green screen studio?
You need a lot of material for a green screen studio. Here is a list of the things you need:
- Green or blue cotton fabric, or green or blue wall or other appropriate material. We used a 3 by 4 meter cotton fabric.
- Tripods and crossbar or other means of attachment. We used a tripod set from Manfrotto (MA 1314B).
- Spotlights for the background lighting: The screen should be well and evenly lit. No areas should be overlit. The best way to determine whether areas are overlit is to use the "Zebra" function on many camera models. We used two LED spotlights, which we aimed at the wall to create indirect light. However, lamps with softboxes can also be used.
- Spotlights for foreground lighting: As a rule, classic three-point lighting is used here. The guide light is the main light source and therefore the strongest light. It is directed slightly from above onto the actor at an angle of approx. 45° from the camera. This light creates the shadows on the face. The fill light is located on the other half of the face. This is weaker than the guiding light and, as the name suggests, brightens the shadows created. The third light in this lighting technique is the highlight. It is positioned from behind opposite the leading light and illuminates the shoulders and hair, making the actor stand out from the background.
Setting up the studio
- First, the green or blue wall is set up.
- Then the screen is illuminated and checked with the camera.
- The third step is to install the three-point lighting.
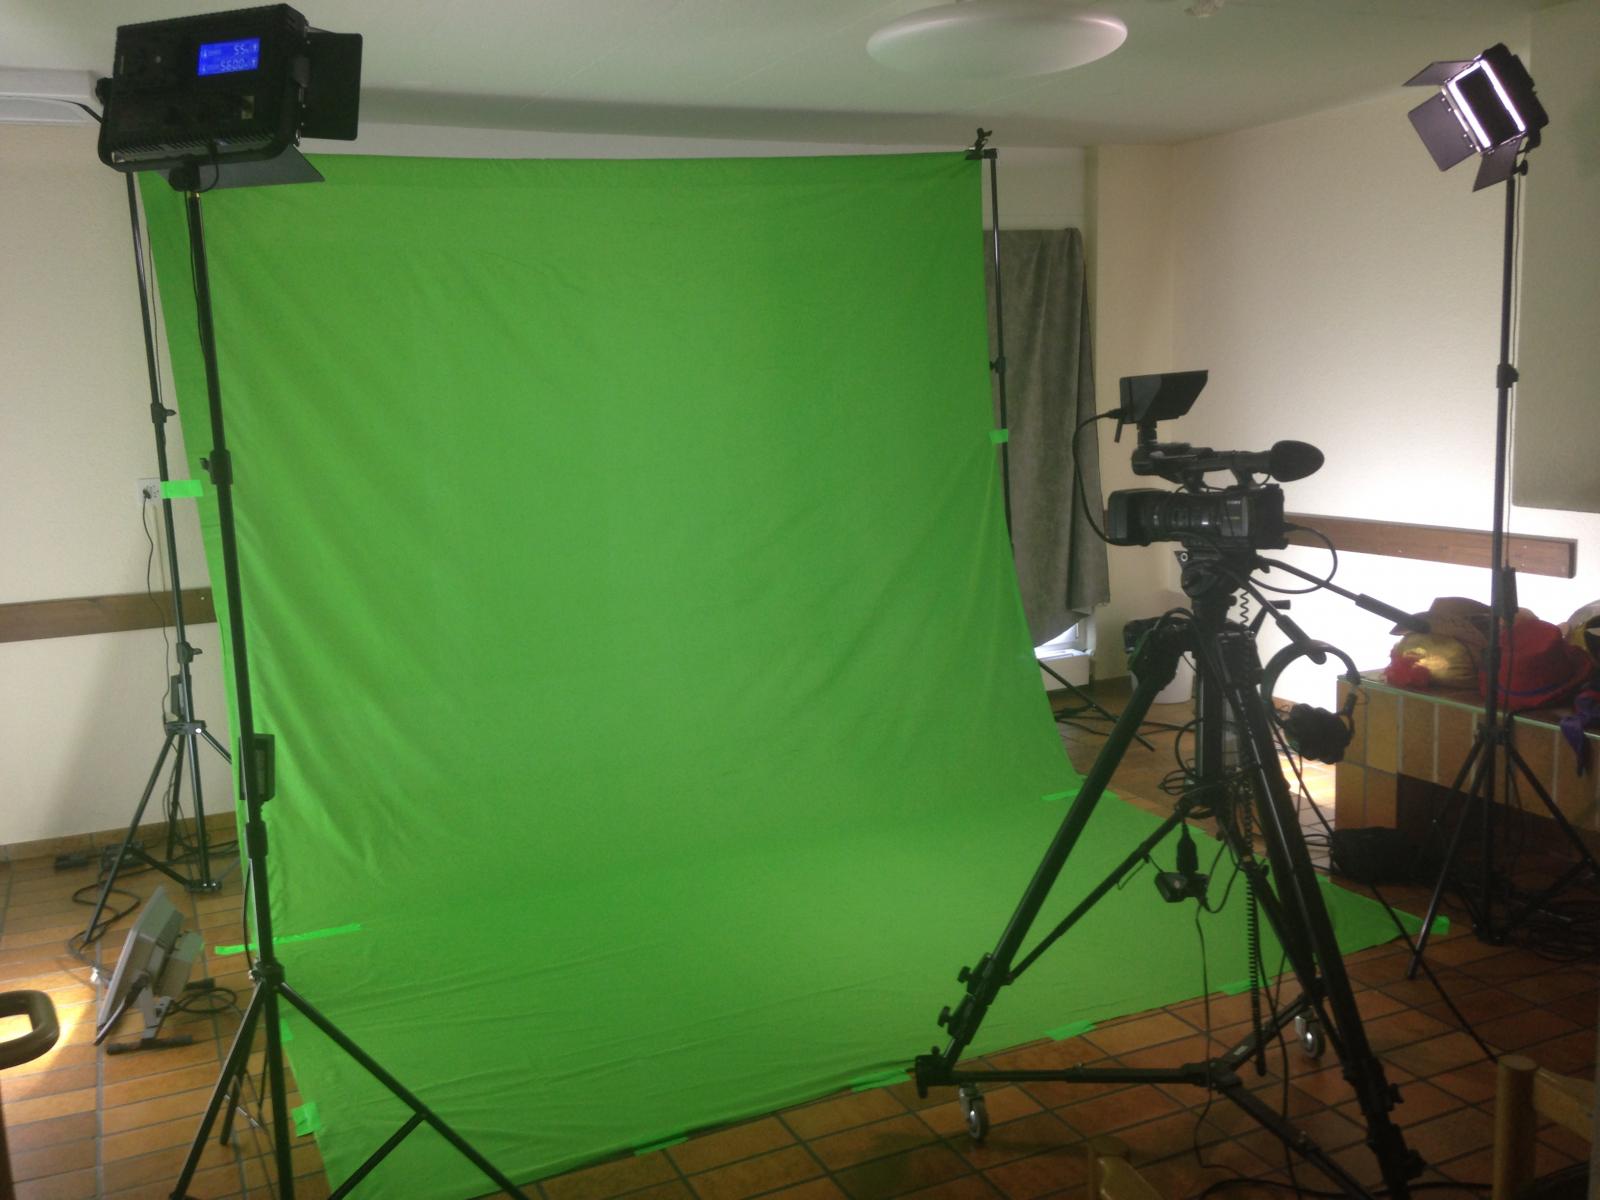
Attach the cables neatly to the floor so that there are no tripping hazards! Below is a sketch of what the green screen studio should look like.

Notes and rules for studio operation
- As a rule, the fabric is designed so that the actors can also move on the screen. This also allows for full body shots. Clean shoes are obligatory on the set.
- The distance from the actor to the screen should be 1.5 - 2 meters. This prevents shadows on the screen.
- After filming, the studio must be tidied up again so that the next group can look forward to filming.
Post-production
A video editing program that supports chroma-keying is required for post-production. Preferably software such as Adobe After Effects, Adobe Premiere, Final Cut (OSX), Magix Video Deluxe, or similar.
Proof of source
- Cover picture: René Graf
- Image and video material: René Graf(www.ichthys-films.ch)
Content may be automatically translated. Help improve the quality of the translation with your editing!