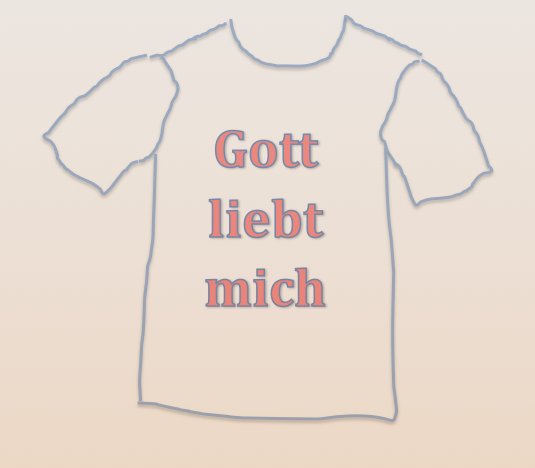
How do you print a T-shirt with teenagers?
Here are the instructions: made easy!
Basic idea / goal:
Everyone prints/paints their own T-shirt with simple tools. The subject is freely selectable or is related to a theme (eg self-acceptance: inscription "I am an original")
Duration / period:
One-time event / three to five hours (depending on whether Sujet is already chosen or pre-drawn, the time for a devotion still additionally plan!)
Suitable for:
5-15 (max. 20) participants from approx. 12 years
Materials needed:
- Per participant one plain t-shirt
- Deka paints for fabric painting
- Brushes (thick and thin)
- Clear film
- Waterproof markers
- Cutter
- Writing material
- Cardboard as a backing
Auxiliaries:
T-shirt printing can be easily done without any aids. Instructions for t-shirt printing can be found in craft books. (Screen printing is a more elaborate process that requires certain prior knowledge, practice and especially additional materials (rubber solution, cover syrup, artificial silk, wooden frame.) It is suitable for mass production. Further details can be found in books describing printing techniques)
Cost:
Depending on the price of the T-shirts, the cost is Fr. 15.- to 20.- per person (one color costs about Fr. 5.-)
Execution of the project:
Depending on whether the T-shirt printing is under a certain theme, the theme is first introduced or the devotion is held. On the subject of self-acceptance, the video "Wunderwerk Mensch" is very suitable (duration 40 min.) It shows in impressive shots, how man is wonderfully created. In order to deepen the whole topic, Psalm 139 is suitable. The song "Never forget" takes up the whole topic again from the musical side. During the discussion of the theme, each participant has time to think about which subject they would like to print. Then everyone makes a sketch of the motif or the chosen lettering. The whole thing is transferred with a waterproof felt-tip pen onto an adhesive foil. On a base, the part that is to be transferred to the T-shirt with paint is carefully cut out with the cutter. The best thing to do now is to attach the T-shirt to the table with adhesive tape (stretch it well) and slide a cardboard or plastic bag between the two pieces of fabric. After the adhesive foil (the "negative") has been well stuck on the desired place, you can start painting. Of course, different colors can be used. It is important that the fabric paint is not applied too thinly and that one color is allowed to dry sufficiently before continuing with a second one in the immediate vicinity (otherwise there is a danger of running). Once all the applied colors have dried, the adhesive foil can be carefully peeled off. In order for the fabric colors to be washfast, they must be ironed in after a drying time of 24 hours. Ready is the own T-shirt!
Important notes:
Fine lines and lettering are best painted on by hand with a thin brush. If you want to actually print t-shirts, linoleum printing is the most likely option with children. With special notch knives you cut depressions into the linoleum plate (very soft). It is important to note that the indentations must not take on any color during the subsequent dyeing process. Therefore, the subject must not be cut out, but its negative. In addition, the motif is printed laterally reversed. Once the cutting work is done, the plate is dyed with fabric dye using a roller. The linoleum plate is now pressed well onto the T-shirt and, if possible, allowed to pass through a special roller.
Application:
Applicable wherever there is a table. Well suited in home warehouses.
Source credits:
Content: Teenie working group, Margrit Hugentobler and Regula Lehmann
copyright: BESJ Fällanden www.besj.ch
image: Juropa .net www.juropa.net
Content may be automatically translated. Help improve the quality of the translation with your editing!