To knot the monkey fist (a ball) is not so difficult and does not take as much time as many think. The monkey fist is mainlyused as a decorative knot.
According to Wikipedia, the monkey fist is also called Schmeissknoten, Kindskopf or Monkeyhead.
Material
- Rope, cord or vine cord
- about 20 to 30 min time
- a lighter
- a Swiss Army knife (pocket knife)
- content (marbles, wooden beads, howl foil, etc.)
Tips and Tricks
The small monkey fist, with three windings each, benneeds no Ffilling. Starting with four wraps, you should put something inside the knot. This can be a marble, wooden bead, a tinfoil ball or anything else.
In general, the following applies: the knot is made, that is, the rope does not go to the right place by itself. Especially when tightening, it is important to make sure that the rope is in the right place. You might have to push it with the corkscrew to the right place.
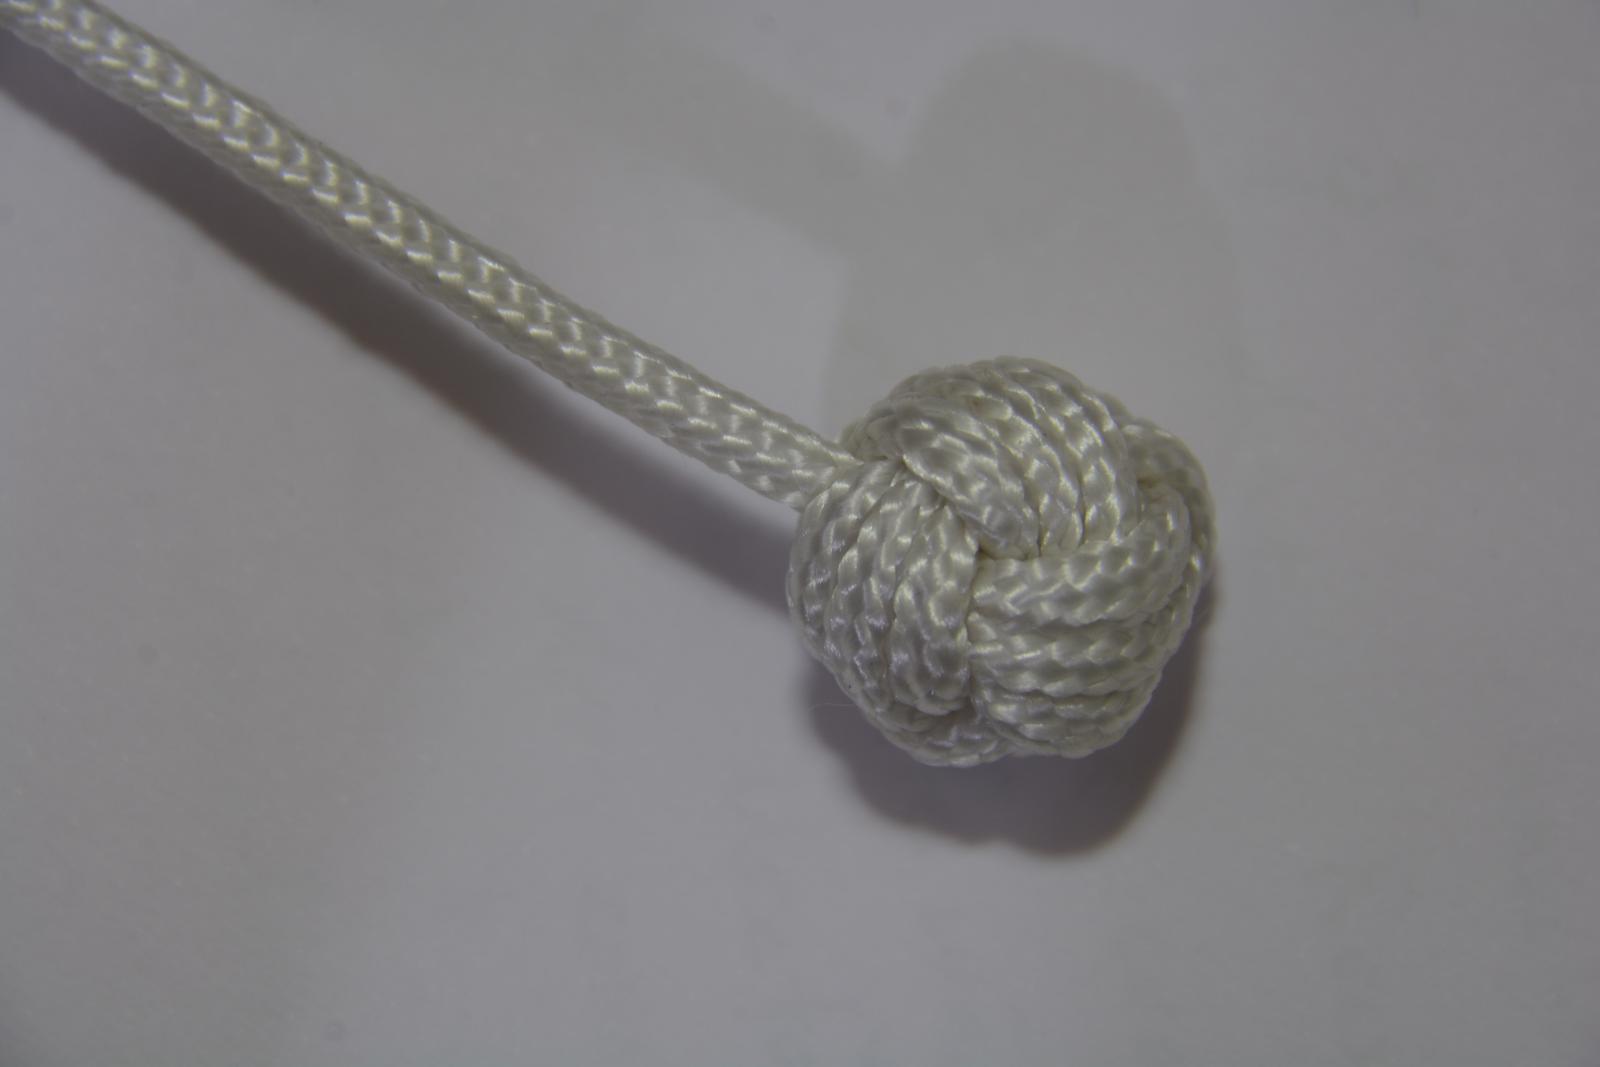
Small version 3-fold
In this version, I always pull the rope across the ball, so that it is a bit gefüllt. The knot at the beginning you can do, however, it is then usually in the way at the end and must be geopened again or cut off.
Proceeding
- Wrap the rope three times around the fingers.
- Pull the rope across the knot.
- Wrap the rope three times around the existing wraps.
- Pull the rope across the knot again.
- Within the first wraps, wrap the rope around the second wraps.
- Pull the rope across the knot.
- Tighten.
- Memorizing the position of the last loop of the first wraps on the first loop of the second wraps. Do the same from the second wraps to the third. Splater when you have tightened, it is difficult to find out the weiterführung of the rope. That's why you should prsaw them briefly.
- You can also mark the start of the rope with waterlsoluble felt-tip pen.
- Two to four times. The corkscrew can also be used to help with this. (Be careful not to damage the rope by pulling on individual strands!)
- Knot the loop.
- Forthis, you can make a double figure eight, a palm knot, or a wrapped knot.
Pictures of the small version 3-fold


Large version 4-fold or more
Since a Ffilling comes in here, I look that the rope goes mpossible along the edge.
The number of wraps is up to you. The size of the contents should be matched to the number of wraps and vice versa.
In the "procedure", the number of windings is replaced by x.
Proceed
- Wrap the rope around your fingers x times.
- Pull the rope under the first x wraps.
- Wrap it around the existing wraps X times.
- Place a marble, ball or similar in the knot.
- Wrap the rope around the second wraps inside the first wraps.
- Tighten.
- Two to four times. The corkscrew can also be used to help with this. (Be careful not to hurt the rope by pulling on individual strands!)
- Tie a loop. For this, you can tie a double figure eight, a bowline or a wrapped knot.
Pictures of the large version 4-fold or more


Image credits
- Cover photo: Provided by ML3000. (ml.3000 (at) hotmail.com)
- Image version 3-fold: Provided by ML3000. (ml.3000 (at) hotmail.com)
- Pictures Version 4-Fold: Provided by ML3000. (ml.3000 (at) hotmail.com)
Content may be automatically translated. Help improve the quality of the translation with your editing!