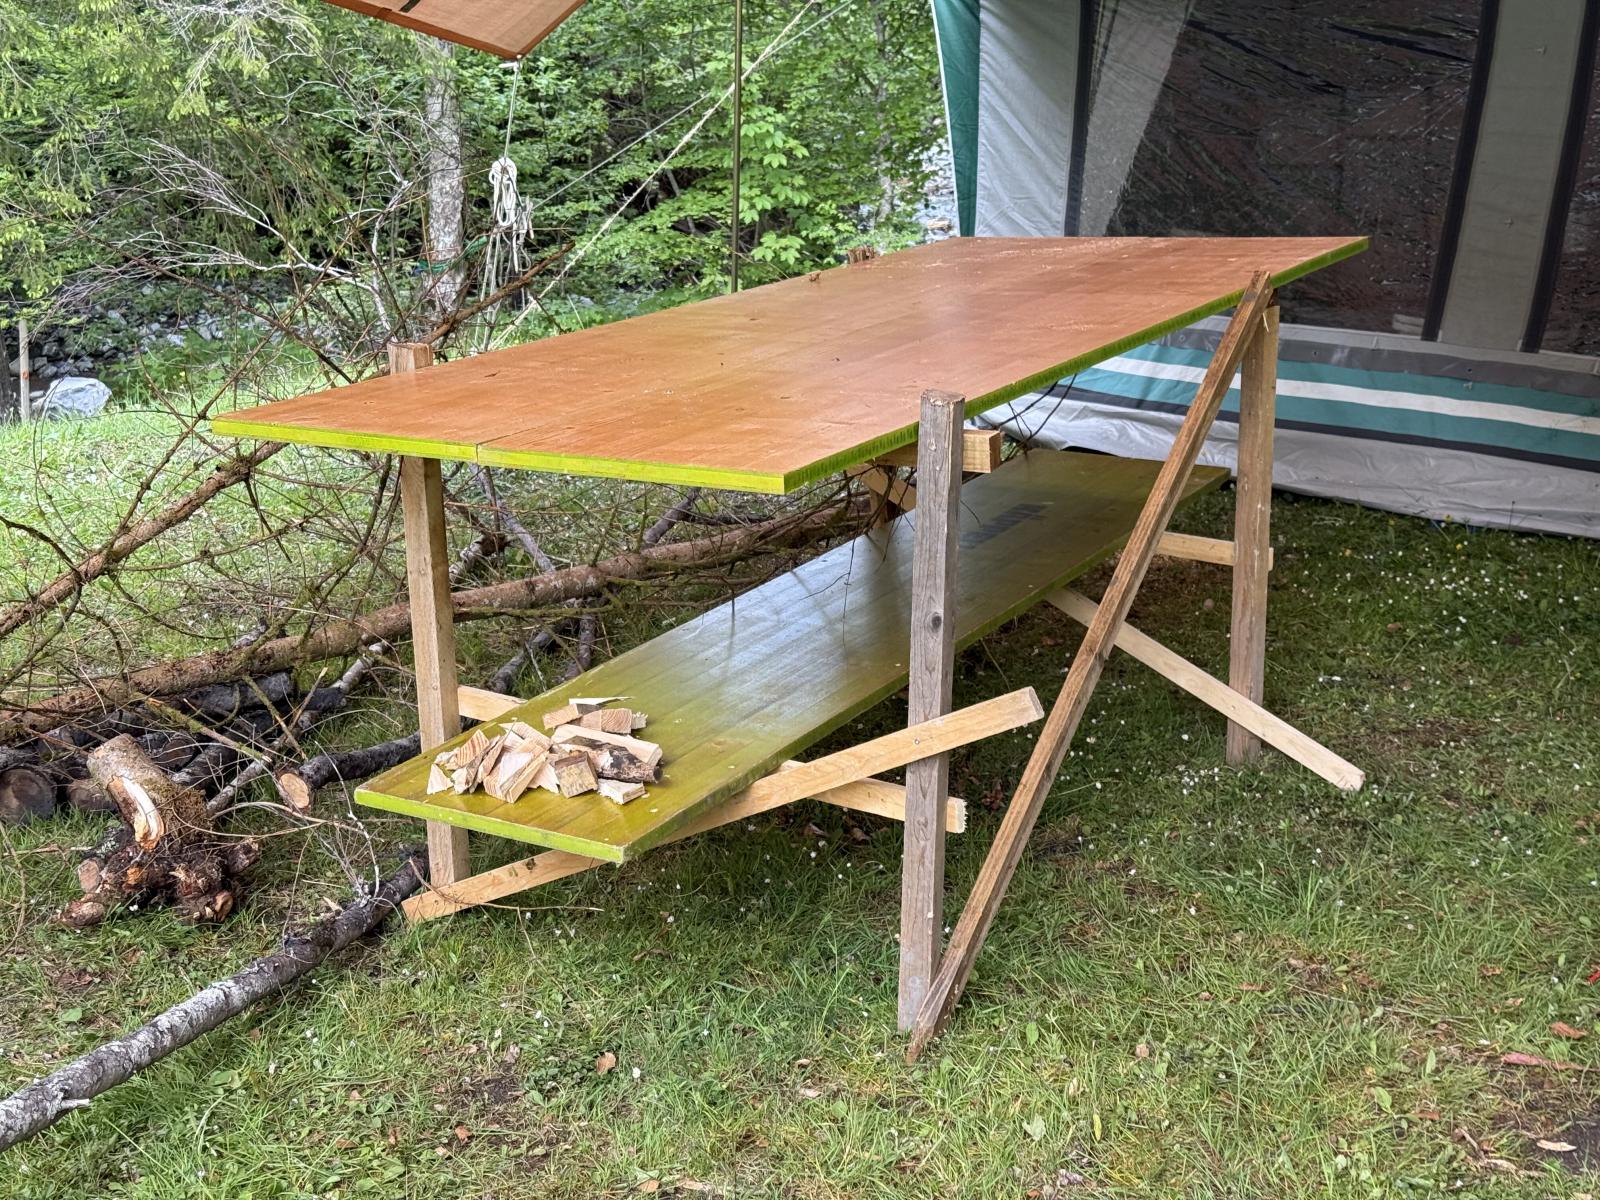
The work table is a storage unit that allows you to work while standing, for example, in the kitchen.
Material
- Slats/posts, at least 10 pieces
- Plywood panels (e.g., 3) or boards
- Screws
Tools
- Sledgehammer
- Hatchet/axe
- Spirit level
- Cordless screwdriver with bits, possibly drill bits
Structure
- Preparation: Lay out the slabs on the ground in their desired final positions to determine the exact spacing between the posts.
- Set the posts: Sharpen the ends of four sturdy posts (approx. 1.3–1.5 m long). Drive them firmly into the ground to the left and right of the panels, set back approx. 50 cm from the outer edges.
- Install the top crossbars: Align two horizontal slats at a height of 85–95 cm (adjusted to suit the users) using a level, and screw them to the posts. (Observe the minimum width specified for the panels!)
- Install the lower crossbars: Attach two additional horizontal slats at a lower level (approx. 30 cm above the floor) to serve as a support for the material storage area.
- Secure the work surfaces: Place the panels on the upper and lower slats and screw them down flush.
- Bracing: Install diagonal braces between the posts to prevent the structure from wobbling.
- Finishing touches: Trim any protruding slat ends to minimize the risk of injury and ensure freedom of movement.
Examples
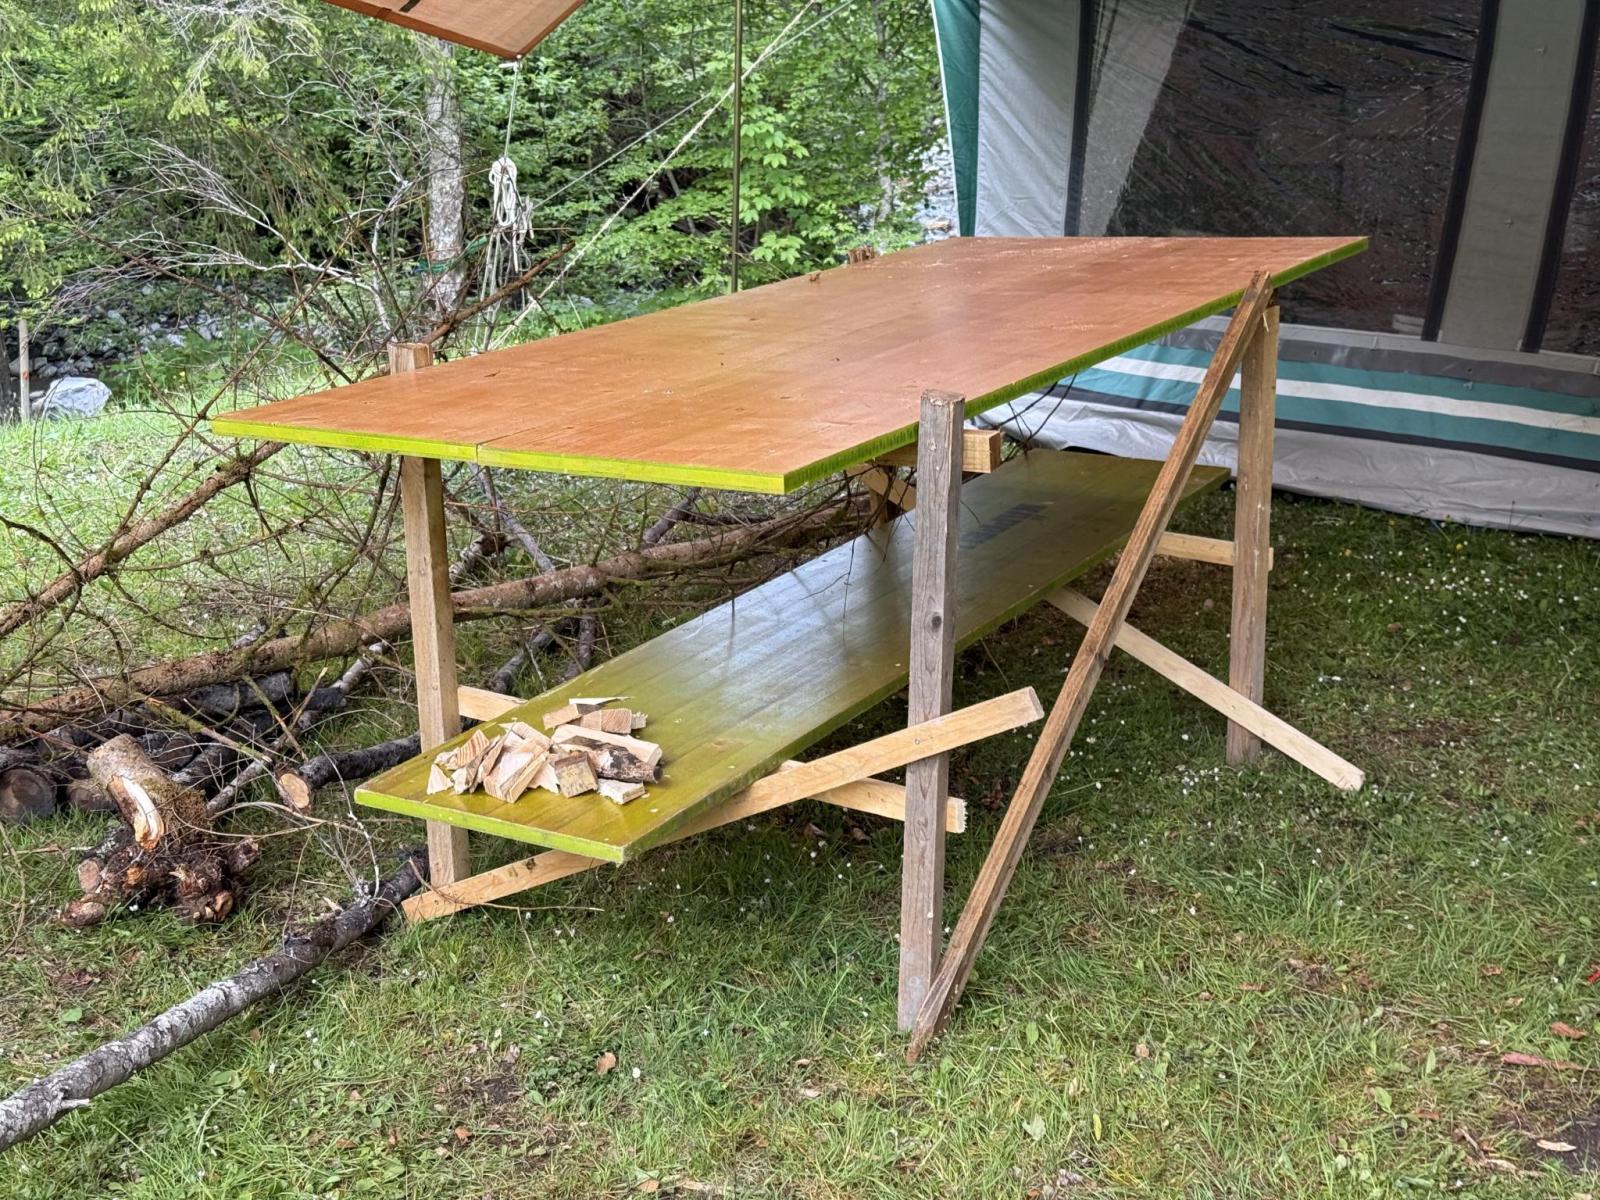
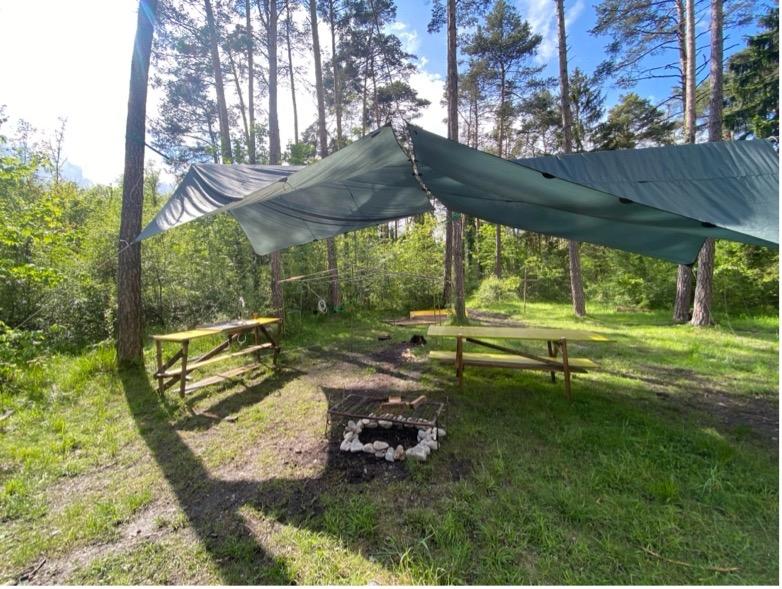
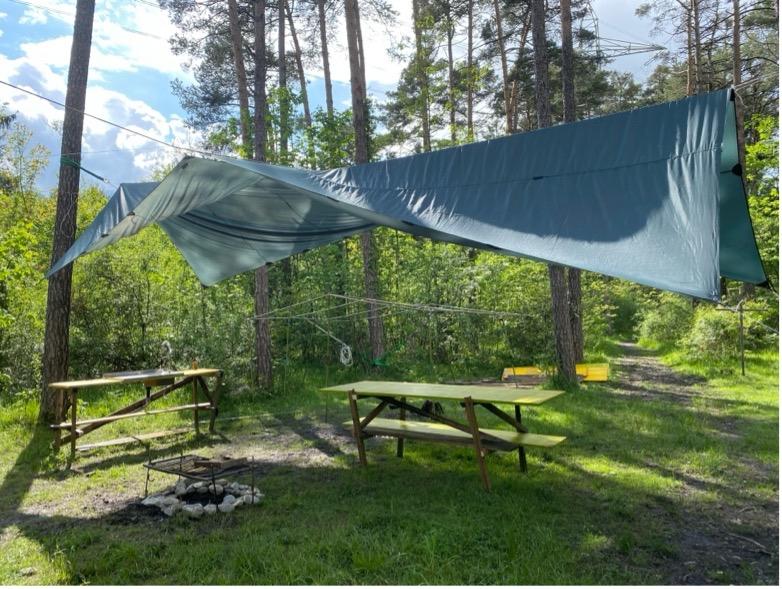
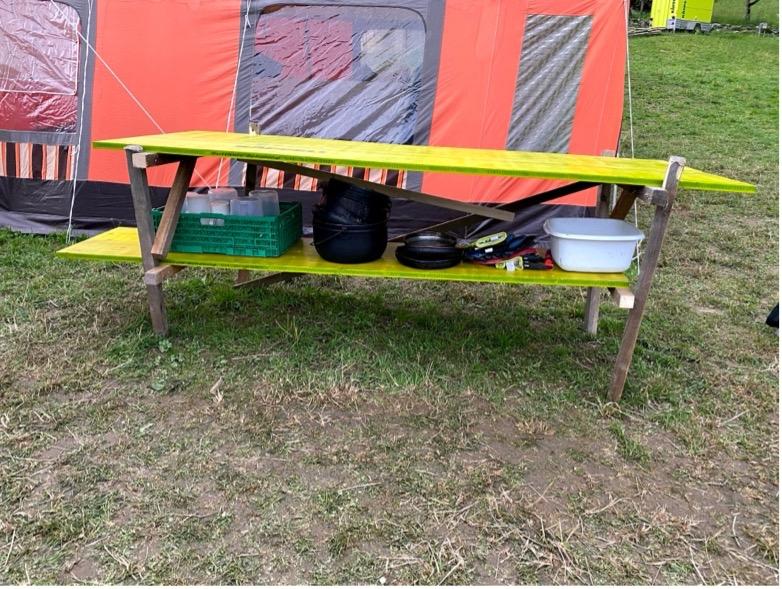
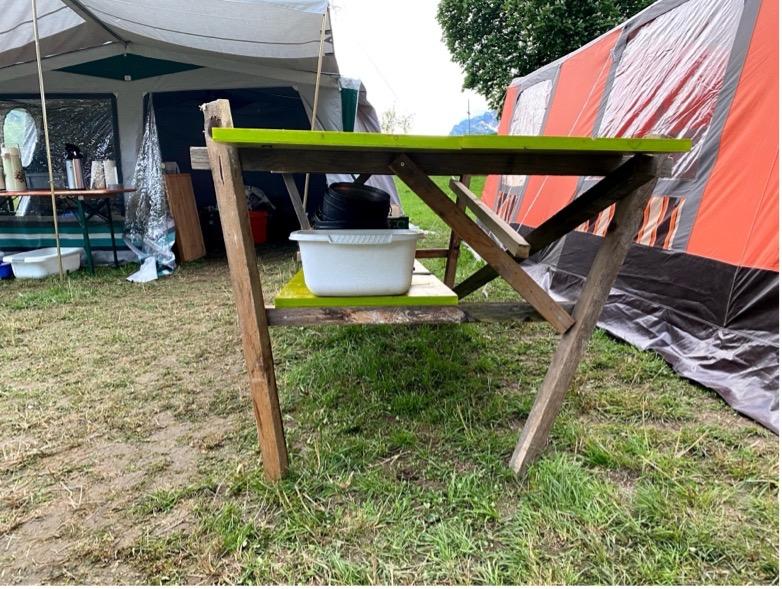
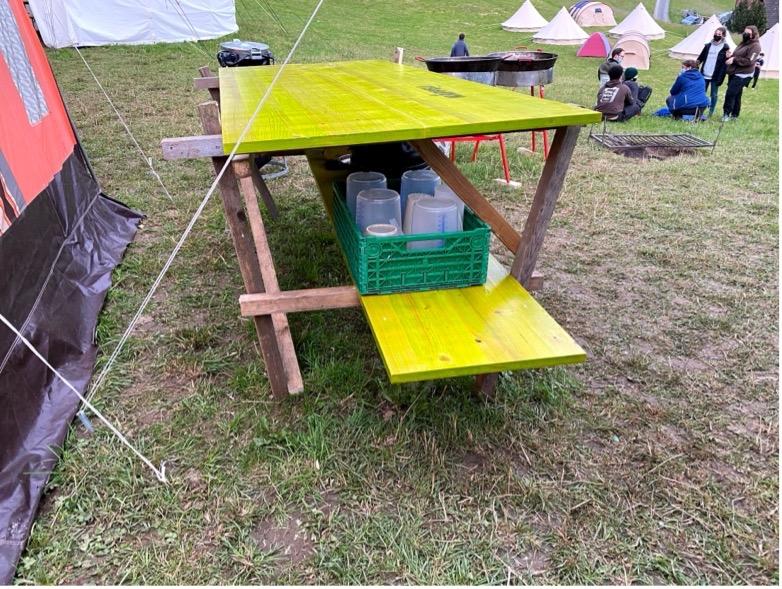
Photo Credit
- Cover image: Courtesy of ML3000.
- Examples: Courtesy of ML3000.