In ancient times, the hourglass was used to measure time. The accuracy of the measurement depends on the fineness of the sand used.
What you’ll need
- 2 identical small bottles of aperitif; Campari bottles are best, but they’re expensive;
- 1 tea light with a hole in it and a removable wick;
- 1 roll of adhesive tape, preferably electrician’s tape
- 1 transparent container, e.g. a plastic bottle, 2 x ½ litre
- ½ small plastic coffee cup filled with sieved sea sand;
- 1 sieve or kitchen strainer
- 1 ½ kg ice-cream tub, to hold the sieved sand.
Variants
- 1 plastic wine stopper, with clear food-grade film
- 1 cork stopper with a through-hole approximately 3 mm in diameter.
- 2 wooden blocks, 6 x 6 x 2 cm.
- 8 wooden slats, 12 x 3 x 310 mm.
Preparing the small bottles
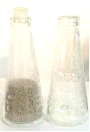
Make sure you get hold of some small aperitif bottles in good time; you can ask at bars if they have any, but this should be done a month in advance. Wash the bottles thoroughly, leaving them in hot water to loosen the paper labels, then rinse them well, leave them to drain and dry thoroughly a few days beforehand.
Preparing the sand
Perhaps not everyone can go to the seaside or a building supplies shop to get some sand; in that case, you can use finely ground table salt.
Sifting thoroughly ensures the process works properly, so repeat this step 4 or 5 times, taking your time each time. Hold the sieve at a slight angle towards you (photo on the left) and shake it, making gentle horizontal swaying movements over the tray or sheet of paper, allowing the sand to fall through whilst taking care not to overfill the sieve. When you notice that larger grains have accumulated, stop adding sand and discard these grains (photo on the right); you’ll need to do this frequently, as the mesh may stretch under the weight of the sand and allow them to pass through anyway.
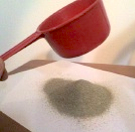

Making the stopper
You’ll certainly achieve better results with a candle, but this makes the process more difficult for young children, so we’re also suggesting an easier, though less precise, alternative.
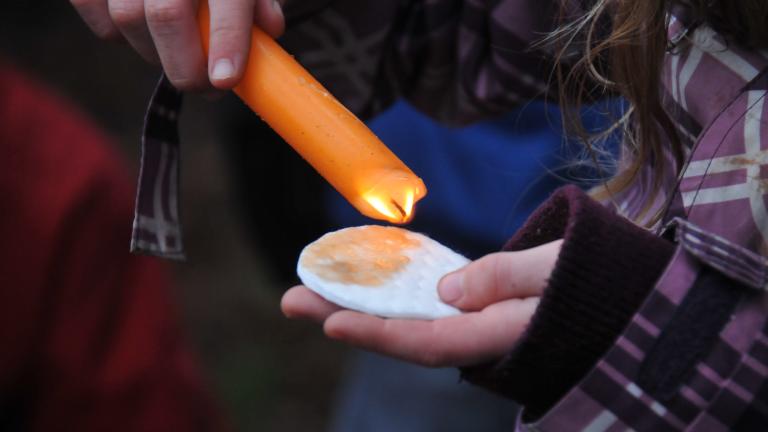
Place the candle, complete with its aluminium container and wick, on the table, then press an aperitif bottle down on top, trying to align the centre of the bottle cap with the candle wick; it is best to warm the neck of the bottle slightly beforehand. Then, after protecting the table, remove the candle from its container – leaving the wick in place – and, using a sharp pocket knife, start trimming away the excess wax until you are left with a cylinder with a diameter slightly larger than the hole in the bottle, as shown in the first photo. Once you’ve checked that it fits into the bottle with some effort from both ends, use the pocket knife to carve a conical indentation (see second photo) on both sides, above and below the candle; this will help guide the sand into the hole. Be careful not to overdo it, otherwise the candle will break. Once you’ve made the two conical indentations, thread the wick through the hole to prevent it from becoming blocked by wax residue.


Alternative
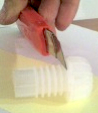
Take a hollow plastic stopper with a mushroom-shaped top, such as those found on bottles of sparkling wine or sold to home winemakers. Then cut off the mushroom-shaped top (photo on the right) with a craft knife, leaving a cylinder with a large hole. Try to see if at least three rings fit inside the bottle; to do this, press the stopper against the wall and push the bottle in. If it doesn’t fit, you’ll need to trim just the first two rings on the side where you cut off the mushroom-shaped top. To make the hole smaller, we used cling film and pierced a hole in it with a toothpick.
Preparing the container
We used the packaging from two curtain rods, cutting it into 30 cm high rectangular prisms with a square base and sides measuring 6 cm; you could try making them from plastic sheets, such as overhead projector transparencies; in that case, it’s best to make cylinders. It may be cheaper to use transparent plastic sparkling water bottles (1.5 l or ½ l), cutting off the top section approximately 18 cm from the base and making a cut of about 10 cm on both sides to make them fit together more easily. You can also make them using wood and string, by preparing two bases measuring 6 cm × 6 cm and 1 or 2 cm thick, then take some small wooden fruit crates and make 8 slats as long as the two bottles plus the two 1 cm wide pieces of wood, and nail them to the four corners, or use string at the four corners, drilling holes in the boards to thread the string through.
Assembly
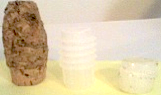
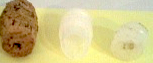
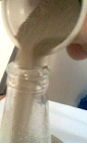
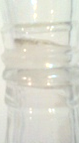
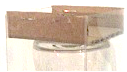
The moment of truth has arrived. Pour half a coffee cup of sieved sand into a small bottle (photo on the left), then insert half a cork (photo on the right). If you’ve chosen a wax or cork stopper, place the other bottle on top, making sure the glass of the two bottles touch (centre photo). For the plastic stopper, you must first apply cling film and stretch it tight, securing it with a loop of adhesive tape or a rubber band, or simply by wrapping it around the neck of the small bottle. Then make a tiny hole in the centre with a toothpick. Close it with the other bottle and remove any cling film sticking out; before securing it with adhesive tape, check that no sand passes through the hole in the cling film. Now wrap several layers of insulating tape around it, starting from the centre. Make sure the first wrap covers both bottles (see photo below), then wrap 2 cm above and 2 cm below the point where they meet; keep the tape taut. It’s now ready, but if it falls on the floor it might break, so you can place it inside a clear container. If you have a clear plastic rectangular box without lids, make two U-shaped pieces of card and seal the holes, leaving the flaps on the outside and securing them with a stapler or some glue. If using bottles, slip the whole thing into one bottle and use the other as a stopper, then glue them together, making sure the base of the glass bottle touches the inside of the plastic bottle. Alternatively, place the hourglass on a square piece of wood, place the other square on top and join them together with small wooden sticks or tie them with string. Then hold an hourglass race to see which one measures the correct time of 1 or 2 minutes.


Source
- Image: Marco Colizzi
- Link:http://www.asei.it/Schede/Clessidra.html